
The Kind Of Procrastination That Leaves a Sweet Aftertaste
At the time that I cooked this, I really should have been packing for a work trip. I have also been so busy since I got back; including dealing with a gaping hole in my kitchen ceiling through which my neighbour’s shower leaks, and a recalcitrant landlord; that I have not really had the time to blog. Procrastination is a big theme in my life. Both mine and that of others, unfortunately.
You may also have noticed that I have had a little bit of an obssesion with pairing things with fennel of late. I had briefly considered strawberries with candied fennel, a long time ago, but instead it became Rhubarb and Fennel Foolish, following some inspiration from Mister Kitchen at the Rollende Keukens.
I had some fennel stewed rhubarb leftover a while back. I had it for breakfast with some yoghurt and the first of the year’s strawberries, and discovered another match made in heaven. The seed of an idea was planted, and then I put off enacting it until I had something else I wanted to put off doing.
Unlike most procrastination, this did not leave me grumpy, nor with the slightly sour taste of panic in my mouth. Instead, it was a delicious treat for the last meal with the Big Guy before I left for the Philippines for a work trip. If only I’d got around to blogging it sooner…

A Treat You Shouldn’t Put Off
I’m really very proud of this tart, it tastes like it is full of complex techniques, but it really is pretty simple. Even the crème patissière is not as complex as it sounds, since the flour in it means it thickens much quicker than it heats, so the risk of splitting is much less than with normal custard.
In fact, I thought that this little treat would be great first entry into the Made With Love Monday blog challenge, hosted by Mark at Javelin Warrior because it was all my own work, and was made and shared with love.
Recipe: Fennel and Strawberry Tarts
Makes 6 small tarts
Ingredients
For the Crème Patissière:
½ tsp fennel seeds
350 ml milk
4 egg yolks
65 g caster sugar
15 g plain flour
15 g cornflour (or use 30 g cornflour)
For the Sable Pastry
25 g icing sugar
100 g plain flour
30 g ground almonds
50 g cold butter, cubed
1 egg yolk
A splash of cold milk to bind
For the Tarts:
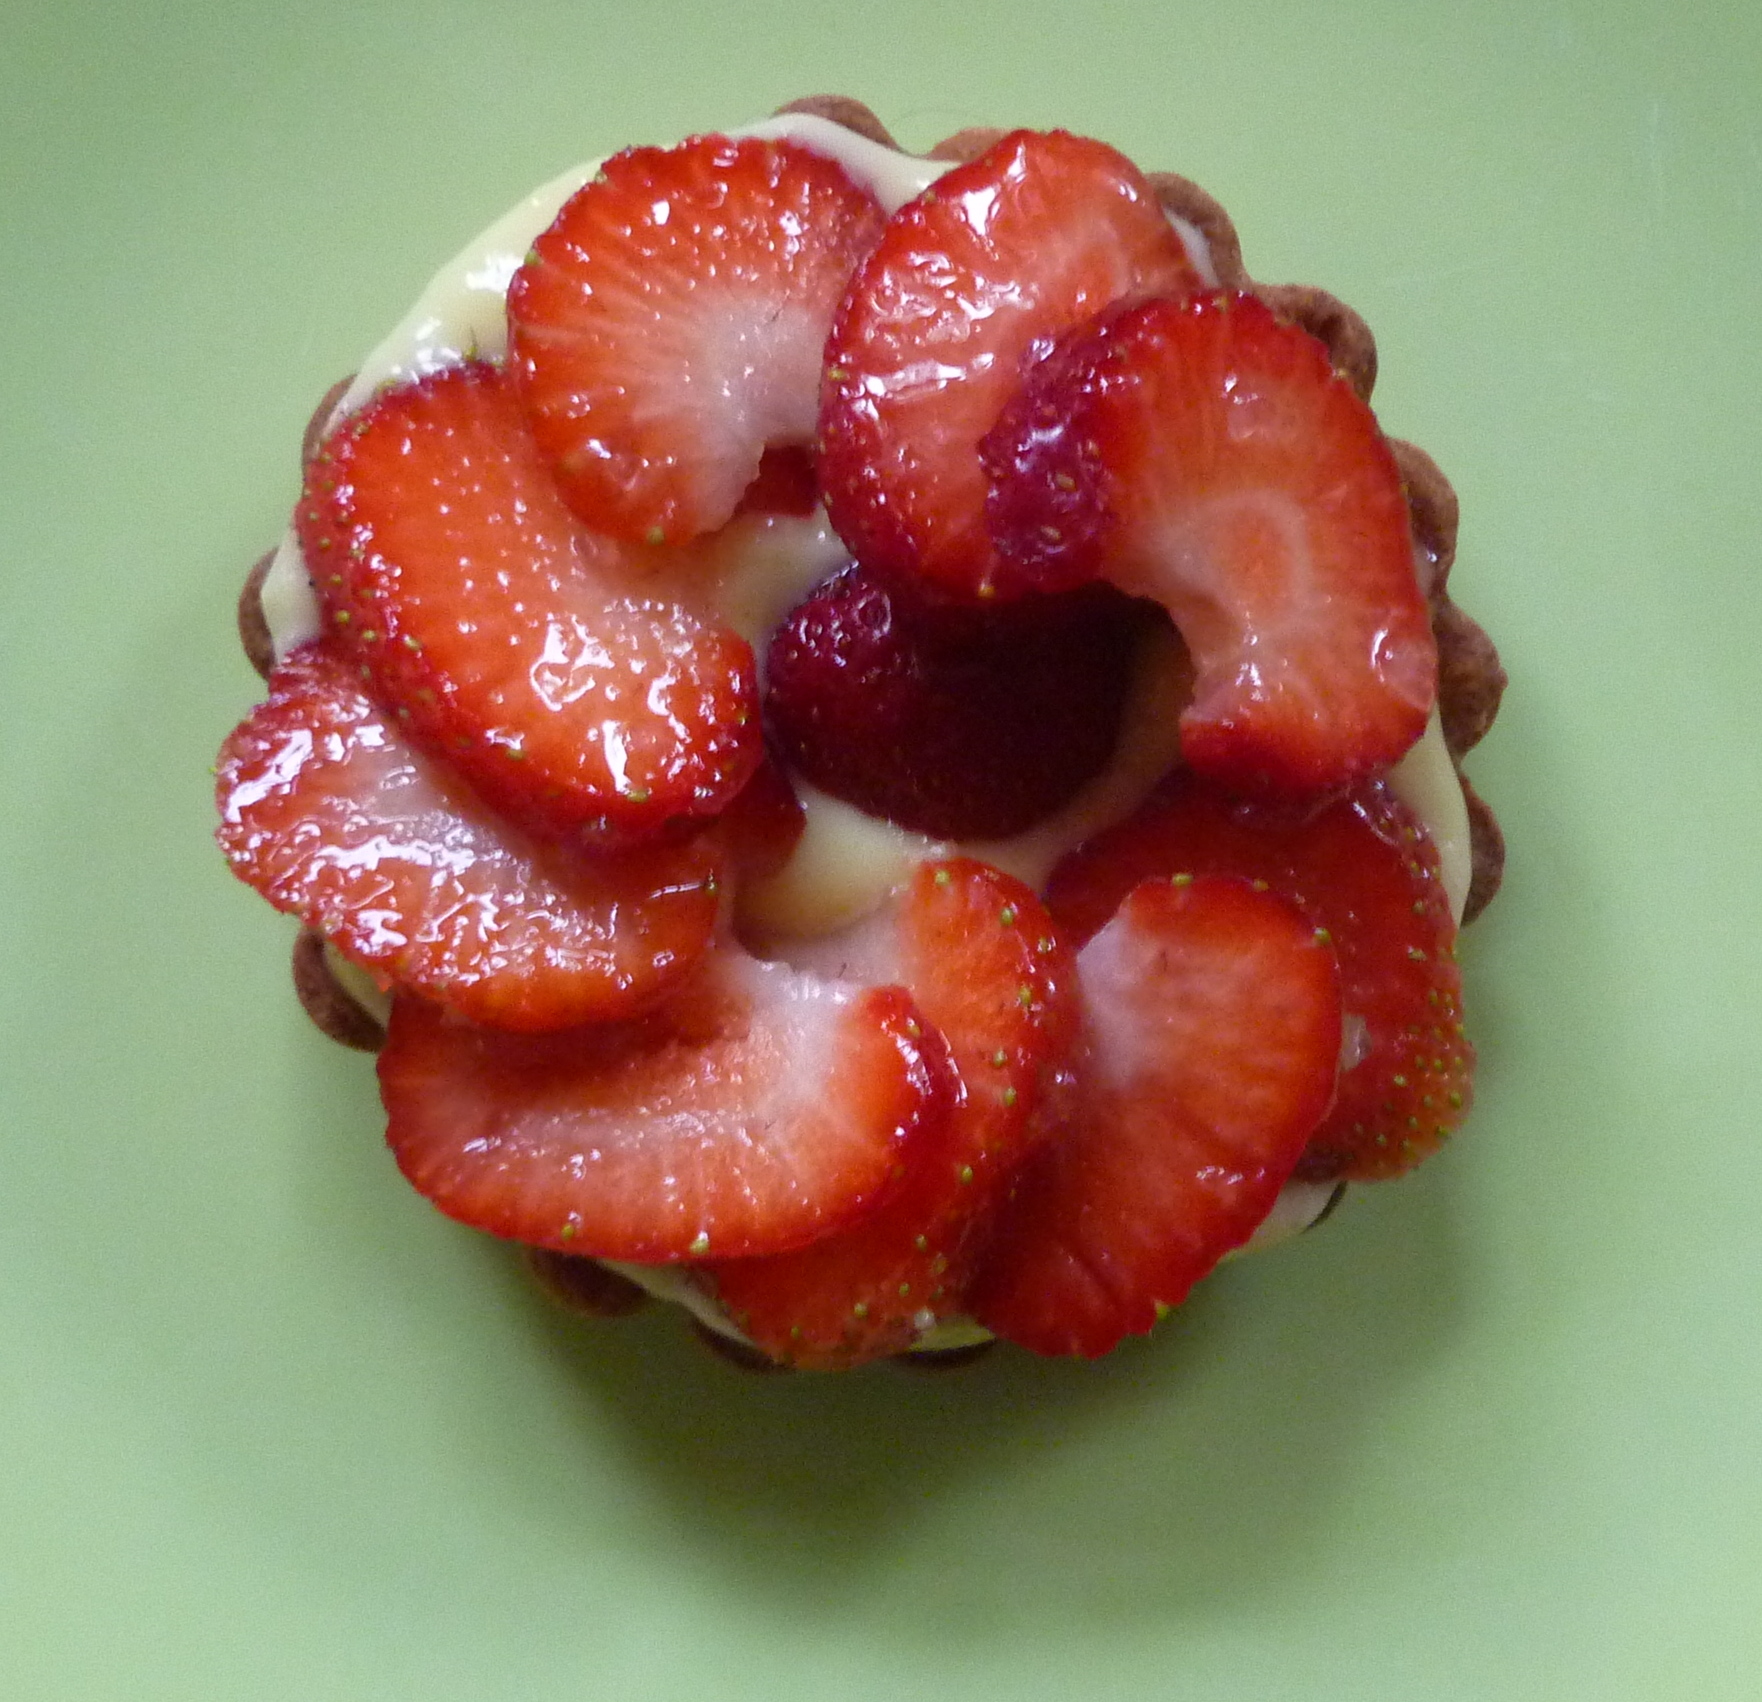
15-18 Strawberries
2 tbsps rose petal jelly or strawberry jelly (not jam)
1 tbsp water
Method
Crème Patissière
Add the fennel seed to the milk, bring to the boil, turn off he heat and allow it to infuse for 20 mins.
Meanwhile, whisk the egg yolks and the sugar together until pale. Whisk in the flour and cornflour until thick and glossy.
Once the milk is infused with fennel flavour, bring it back up to boiling point, and strain through a sieve. Let it sit for about a minute. Slowly add to the egg yolk mixture. Don’t add it too fast or the eggs will scramble.
Return the custard to the pan, and bring to the boil, whisking constantly, and pretty rapidly. Once it starts to cloy on the whisk, take it off the heat, pour into a waterproof container, whisk a little more until it is thick. Sprinkle a little icing sugar over the top, so that it doesn’t form a skin.
Cool quickly by dipping the bowl in iced water (don’t get water in the custard). Refrigerate until needed. I did mine the night before I needed it.
Cheekily hoover up the scrapings in the saucepan, like you were 5 again. You won’t regret this step, I promise.
Sable Pastry
Sift the flour and icing sugar. Add the ground almonds. Rub through the butter, until the mixture resembles breadcrumbs.
Mix in the egg yolk. Add very small splashes of milk, until you can just bring the pastry together. You won’t need a lot, this pastry is quite soft.
Wrap the pastry in paper or clingfilm, and allow to rest in the fridge for at least 40 minutes.
Heat the oven to 200°C.
Roll the pastry out thinly. It’s a delicate pastry, it should be really short and buttery when cooked, so don’t add loads of flour when you roll it out. Instead, roll it on a lightly dusted sheet of baking paper (wax side up).
Grease 6 small tartlet tins. I find the ones with the removable bases are the easiest to use.
Line the tins carefully with the pastry. If your pastry is really short, you could make a sausage from it, cut into thin discs, and then overlap some discs and press them together to thin the pastry. Or you could roll it thinly, use a saucer to cut out rounds of the pastry, and slip it into the tart tin using your baking paper. Either way, carefully push the pastry into the flutes of the tin, using a little bit of scrunched up spare dough. Trim the pastry by rolling your rolling-pin over the top of each tart tin.
Cut squares of baking paper (you can use the same stuff you rolled the pastry on) a bit larger than the tart tins, and scrunch each of them up, as if you are going to throw them in a bin. This will help the paper sit better in the tart case, so that you can get the blind bake into all the nooks and crannies, ensuring that none of your pastry can rise.
Gently prick the bases of the pastry cases with a fork. Unscrunch the baking paper, and line the top of the pastry cases. Line thickly with ceramic beans, dried beans or rice and tap on a work surface to get them into the fluting of the cases.
Bake the tartlet cases in the oven for 10 minutes. Then remove the blind bake, and return to the oven for a further five minutes until the pastry is crisp and lightly browned all over.
Set aside for five minutes, and carefully remove from the tins. Allow to cool completely.
Tarts
Once your pastry and crème patissière are completely cool, you can assemble your tarts. Slice the strawberries in a way you find aesthetically pleasing. Put some of the crème patissière into each tart case, and spread over the base. Arrange your strawberries prettily over the crème patissière.
Make a glaze by heating the rose petal jelly and water gently until the jelly has melted. Mix well, and brush it over the strawberry arrangement.
Enjoy as a slightly unusual treat, with or without friends.


