A Christmas Cracker
I love trying food from different cultures, especially as a different take on Christmas food, such as our Aussie Christmas dinner. I guess that by now, Swedish food isn’t so different for me, but I thought I’d share a favourite recipe of mine.
A traditional Swedish julbord, or “Christmas table” is a pretty meat-heavy affair, eaten at 4pm on Christmas eve, after the nation has sprung to life again following their Disney favourite; “Kalle Anka och hans vänner önskar God Jul” or “Donald Duck And His Friends Wish You Happy Christmas”. It is always the same clips, and this is one Christmas tradition I’m not overkeen on, but when in Stockholm…
Anyway, back to the julbord; it groans under a ham, which for me this year was a wild boar one, because the out-laws know I don’t like to eat factory farmed meat; various kinds of inglagd sill ; cold cuts; sausages; lutfisk; spare ribs; and Janssons Frestelse.
In my family, we also often have gravad lax. Also known as gravlax, gravlaks, graavilohi, or graflax depending on where you are in Scandinavia. In any country, it means buried salmon. In times before refrigeration, especially in northern European countries where snow covered the ground for a good part of the year, curing and burying meat was a great way to preserve it. Originally, people would use spruce or pine needles in the cure, but the balance needs to be perfect if your fish is not to end up tasting of a certain kind of disinfectant.
These days, everyone can make this easy recipe; you don’t even need a spade! In fact, you still have time to make it in time for a new year’s gathering, if you are having one. It looks impressive, for relatively little effort, and it is a big hit.
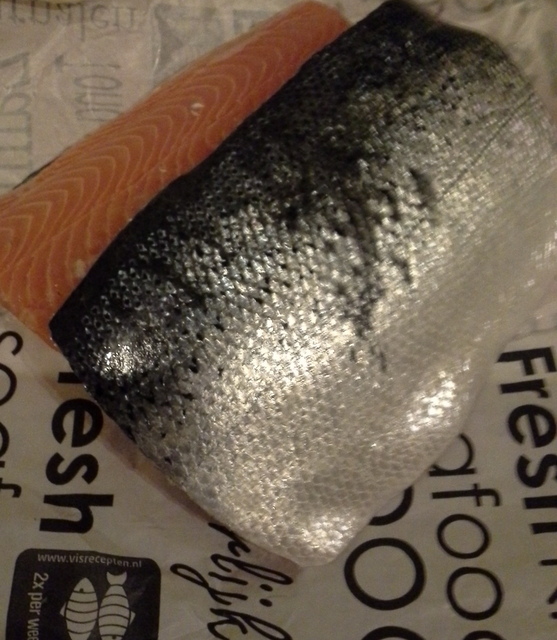
Organic Farmed Salmon
One thing I must urge you is to source your fish well. The increase in popularity of salmon in the last decade or so is concurrent with fish farming, most of which causes horrible environmental damage, due to over feeding and routine, excessive use of antibiotics. At the same time wild stocks are seriously dwindling, due to overfishing, ocean acidification and habitat destruction. In my opinion, salmon should be a treat, eaten very occasionally, so that we can afford to eat the best organically farmed salmon we can, meaning there is no unnecessary antibiotic use, and better care is taken to ensure that the fish are not over fed. This cure also works well for other types of fish, so you could still enjoy the recipe with cheap and plentiful fish, such as mackerel, or herring, so do feel free to experiment.
I made this amount of salmon for a large party, so you can also reduce the amounts of fish you use, but you must have enough cure to really cover the fish, so make a little more of that than you think you might need for the amount of fish that you have.
Recipe: Gravad Lax With A Creamy Mustard Sauce
Ingredients
For the Salmon:
100 g demerera sugar
75 g sea salt
100 g dill
1 tbsp juniper berries crushed
1.5 kg salmon fillet, halved
3 tbsp brandy
3-4 bay leaves
For the Sauce:
250 ml crème fraîche
2-3 tbsp finely chopped dill, depending on how much you like it
2 tbsp wholegrain mustard
1 tbsp runny honey
Salt and pepper to taste
Method
A Fitting Salmon Send Off
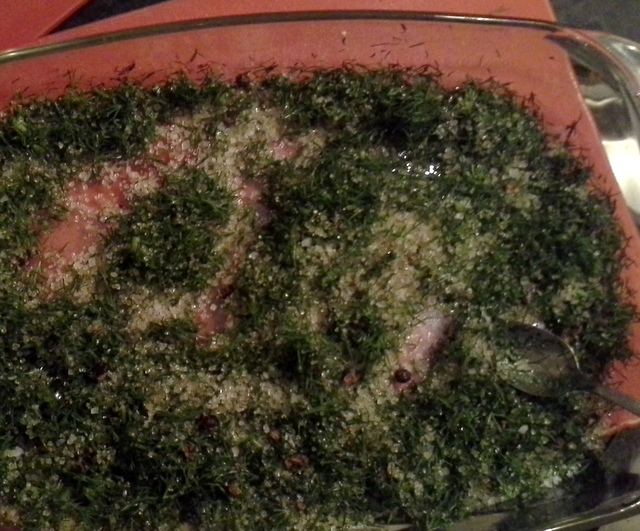
Mix together the salt and sugar until really well combined. Remove the stalks from the dill and chop the rest finely. Mix into the cure with the juniper berries. The cure needs to look pretty green and herby, because you want to get a lot of flavour in there.
In a shallow dish, get some cling film or a cheesecloth, and coat with about a quarter of the cure. Press one half of the fish down well into the cure, skin side down. Rub the cure into the skin, and leave skin side down on the wrapping.
Then you need to load the flesh with the cure. Do this by brushing the flesh with half the brandy and laying about another quarter of the cure over the flesh. Lay a few bay leaves over the fish.
Repeat the brandy and cure on the flesh of the second fillet. Once it is well covered, then lay it on the first fillet, so they are flesh to flesh. If the cure falls out, tuck it back between the fillets.
Rub the last of the cure into the skin of the second fillet. Wrap the fillets tightly together. If you are using cheesecloth, bind it with a series of butcher’s knots, as tight as you can get. The fish will lose liquid as it cures, so it is best to keep it in the shallow dish, unless you really like cleaning the contents of your fridge.
Weigh down the fish, by piling a load of tins on top of a baking sheet on top of the fillets, and placing the whole lot into the fridge. Leave it to cure for 3 days, turning once each day. Rinse off and pat dry with kitchen towel before serving.

The Finished Product
To make the sauce, simply mix together the crème fraîche, dill, mustard and the honey. Season to taste.
Serve with the thinly sliced gravad lax on bread, melba toast or knäckebröd, as a delicious starter or hors d’oeuvre.